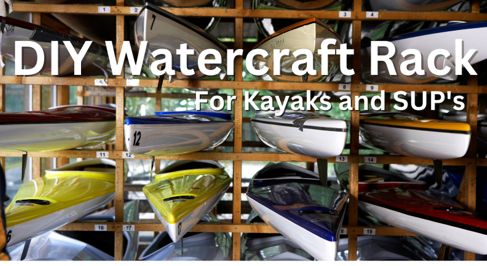
As a lakefront homeowner, owning kayaks or stand-up paddleboards (SUPs) is an excellent way to enjoy the water and stay active. However, storing these watercrafts can be challenging. Building a DIY wood storage watercraft rack for kayaks and SUPs is an affordable and practical solution. Keeping your watercrafts organized and protected from damage is important. With a few basic tools and materials, you can build a durable rack that fits your needs and enhances your lakefront property.

Here’s a step-by-step guide on how to build a DIY wood storage rack for kayaks and SUP’s:
Materials:
- 2×6 wood boards
- 3×3 wood posts
- Wood screws
- Deck screws
- Measuring tape
- Saw
- Drill
- Sandpaper
- Wood stain or sealant (optional)
Easy Building Instructions:
Step 1: Measure and Cut the Wood. Measure the length of your kayak or SUP and cut two 2×6 boards to the same length. These will be the main support beams for your rack. Cut two more 2×6 boards to a length of about 5-6 feet, these will be the cross beams that support the weight of the kayaks or SUPs.
Step 2: Assemble the Main Frame. Take the two 5-6 foot long 2×6 boards and attach them perpendicular to the two support beams using wood screws. Make sure the screws are driven into the center of the board for maximum stability.
Step 3: Attach the 3×3 Posts. Cut four 3×3 posts to a height slightly shorter than the height of your kayaks or SUPs. Place the posts at each corner of the main frame and attach them to the support beams and cross beams using deck screws. Make sure the posts are level and secure.
Step 4: Add Bracing.Cut four more 2×6 boards to a length of about 2 feet. Attach these boards diagonally between the posts and the cross
beams to add stability to the rack. Use wood screws to attach the braces to the posts and cross beams.
Finish and Install:
Step 5: Sand and Finish (optional) Sand any rough edges or surfaces of the wood to make the rack smooth and comfortable to touch. If desired, you can apply a wood stain or sealant to protect the wood from the elements and give it a finished look.
Step 6: Install the Rack Once the rack is assembled and finished, place it in the desired location and use deck screws to secure it to the wall or floor. Make sure the rack is level and stable before hanging your kayaks or SUPs.
And that’s it! With these steps, you’ll have a sturdy, functional, and attractive storage rack for your kayaks and SUPs.
Building a DIY watercraft rack for your kayaks and SUPs is a great way to keep your water toys organized and protected. Adding a functional and attractive feature to your lakefront property is easy! By following these simple steps and using high-quality materials, you can create a durable and reliable storage rack that will provide years of service. So why not take advantage of this opportunity to showcase your DIY skills? Make your dream life as a lakefront homeowner a little easier and more enjoyable!
“Posted by Scott Freerksen – The Lake Guy”