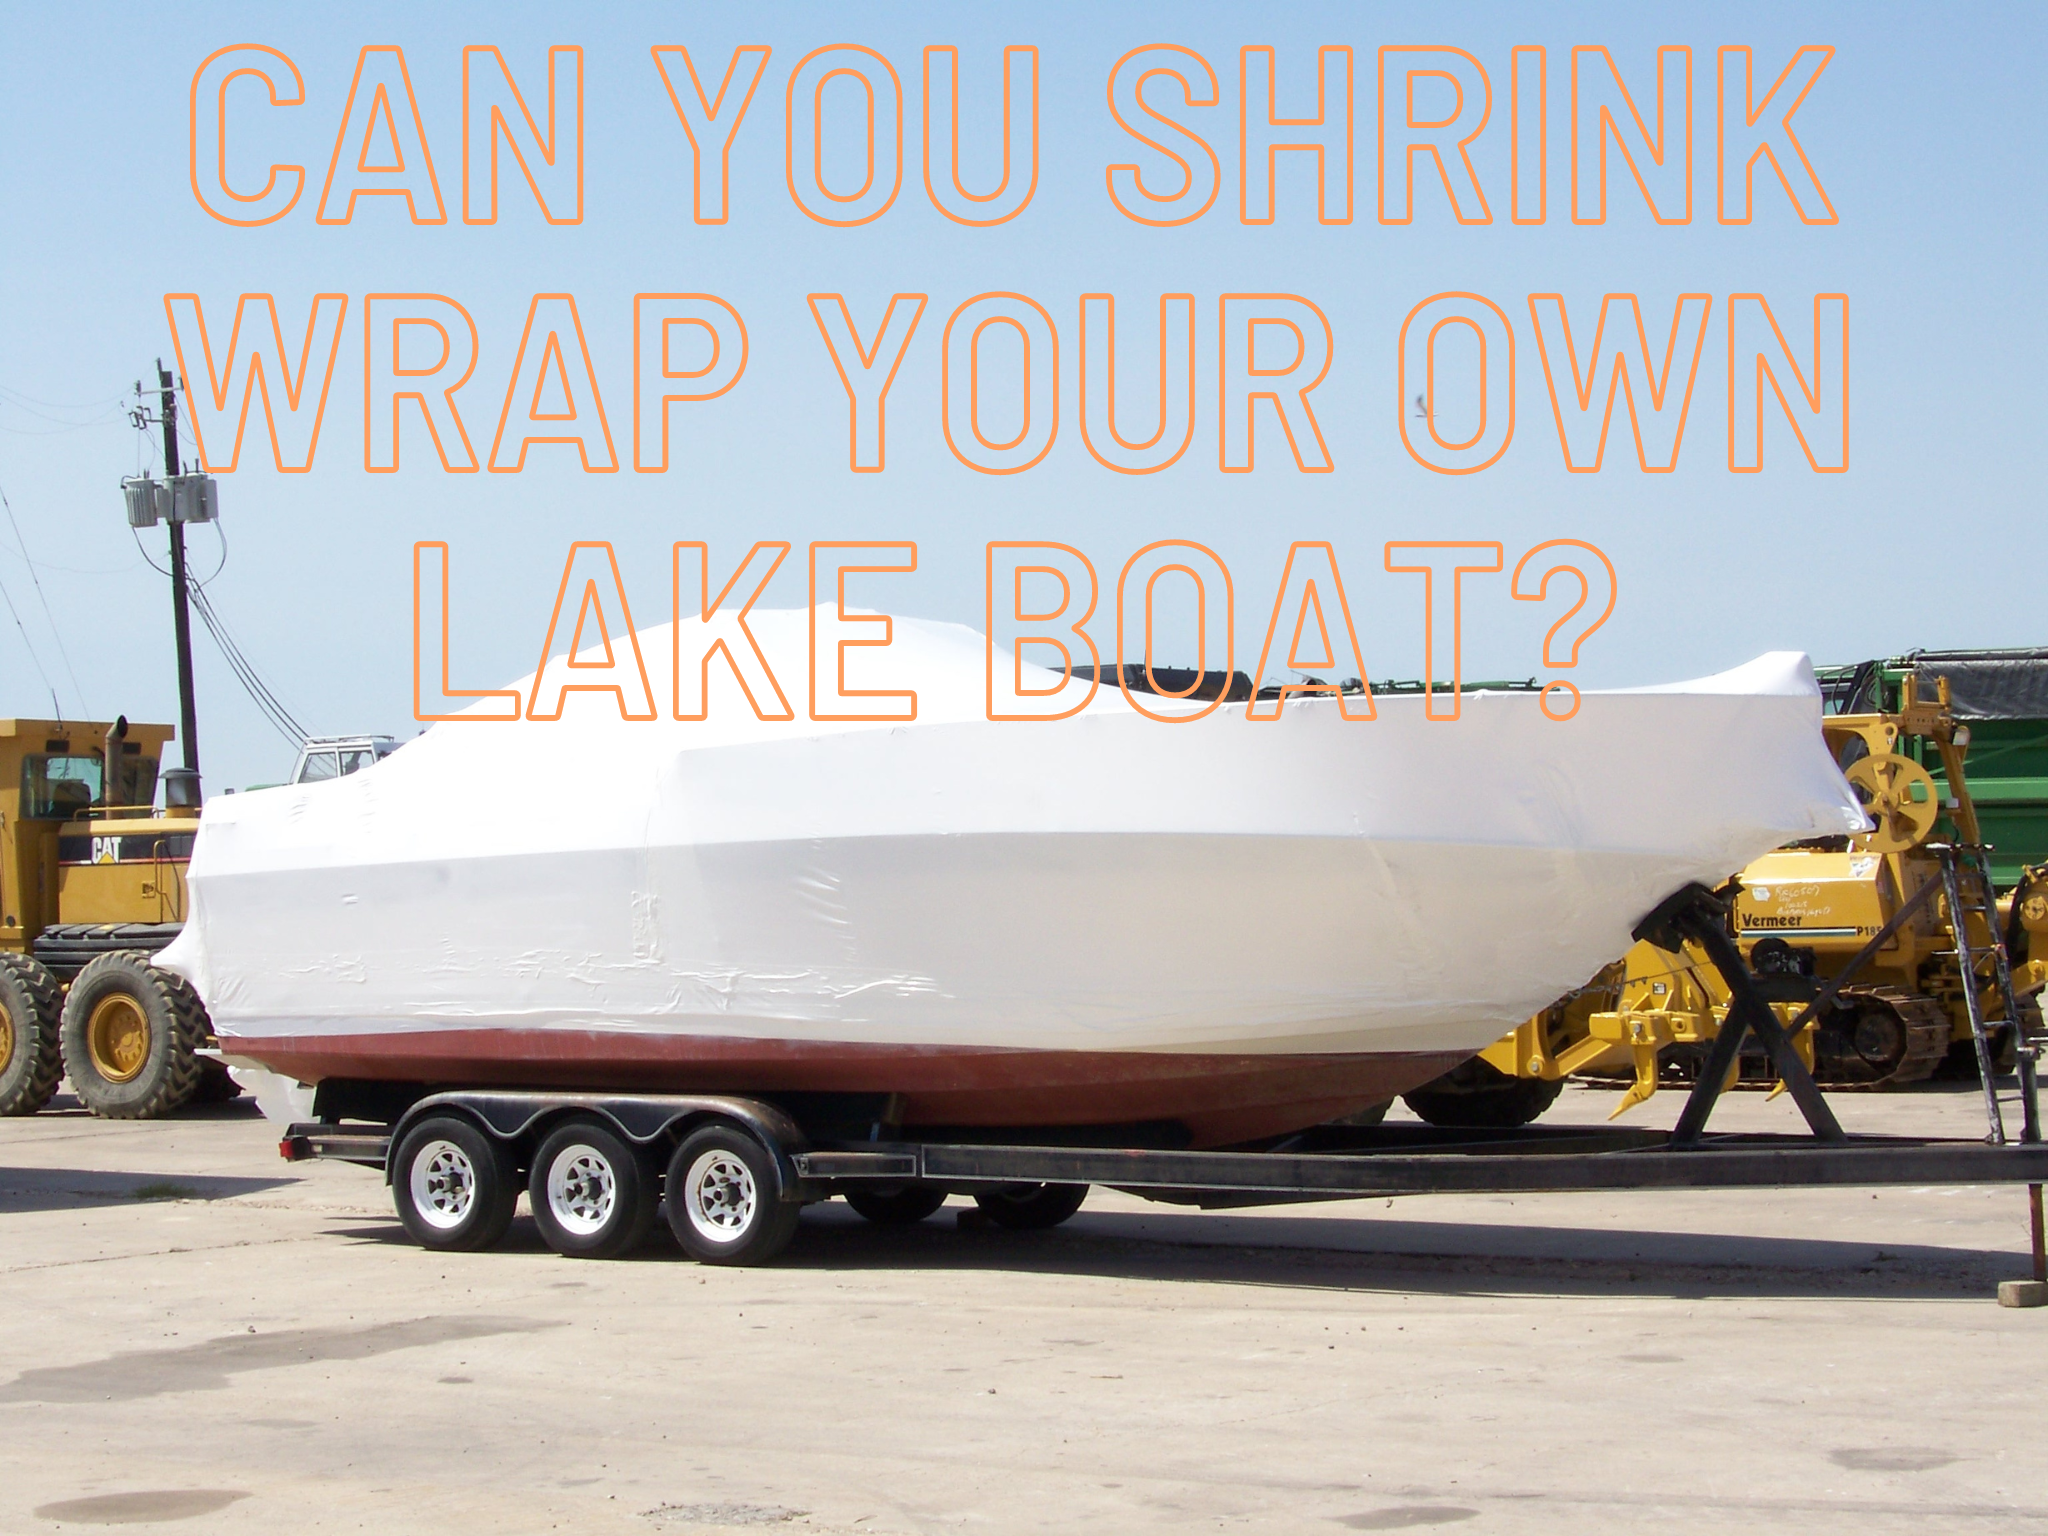
When you need to store your boat for the winter or ship it to a new location, you can use marine shrink wrap to keep it in top condition so you can enjoy lakefront living on your boat as soon as the weather permits. A tight layer of shrink wrap blocks out cold air, moisture, and sunlight.
Constructing a shrink wrap cover on a boat can seem intimidating for a first-time D.I.Y. shrink wrapper. However, shrink wrapping a boat becomes much less intimidating once you know what tools and supplies you’ll need, and what needs to be done. In this article, you’ll get a great idea of the general procedure for wrapping most power boats…
Structure is Key-
The first and arguably most important step of shrink wrapping a boat is creating the structure on which the shrink wrap will lay. If shrink wrap is simply pulled over a boat with no prepared structure, the shrink wrap will have to bridge large gaps between high and low points on the boat with large voids in-between. This will put unnecessary stress on the shrink wrap and, over time, it will likely lead to failure of the cover. An issue like water gathering and pooling can weigh down and stretch the shrink wrap until it eventually fails. This sort of problem can be easily avoided by creating a structure on the boat that bridges gaps between high and low points on the boat so the shrink wrap has support when laying over the voids.
Center Strap-

The Center Strap creates a peak and forms the highest parts of the structure. It can be thought of as the spine of the structure. It is set up along the length of the boat from bow to stern in the very middle of the width of the boat, sitting above everything. Install your 3/4″ strap in a Strap Dispenser and place it on the stern. Pull the 3/4″ strap over the middle of the boat the long way. Run the strap out past the bow rail, down and around the back of the front-most stanchion, behind the matching stanchion on the other side, out past the bow rail and back up above the bow rail. Securely tie the strap to itself. This should create a small triangle of strap at the front of the boat. While the Center Strap is still loose and in position, prepare for the Ribbing.
The Ribbing will be set up to cross the Center Strap. Where the Center Strap runs front to back, the Ribbing runs side to side. In order to prevent the Ribbing from sliding around over top of the Center Strap, small loops must be tied in the Center Strap itself before installing the Ribbing. Make the loops in the Center Strap in line with each stanchion. Starting at the bow, pull your Center Strap away from the bow by hand in a straight line pointing to what will be the highest point of the Center Strap. Tie a loop in the Center Strap. Do this at each stanchion, working away from the bow of the boat. If the boat to be wrapped does not have an arch, a loop will be needed behind the windshield (in line with cleats on the side of the boat if possible).
Once back at your Strap Dispenser, leave yourself enough slack to comfortably join the strap with another section of the Center Strap coming from the stern, then cut the strap off the dispenser. You’ll want about 2 to 3 feet of overlap with the next section of Center Strap to join them easily. Tie your strap coming from the dispenser either around the skinny part of the engine, passing through the mounting bracket against the stern, or tie your strap around a sturdy rail on the stern. Bring your two sections of Center Strap together, leaving 2 to 3 feet of overlap to work with, then cut the strap from the dispenser. Using a 3/4″ Self Locking Metal Buckle, join the two loose ends of Center Strap together, and pull taught by hand.
Support Posts-
To install support posts under the loops in the Center Strap, measure the height of the hand-tightened Center Strap under each loop. Cut 2″ x 4″ posts to the heights measured. Once cut to length, slide a Bottom Cap on the bottom of the post and an End Cap on the top of the post. Drill a hole just below the End Cap on each post. This will allow each post to be tied to a loop in the Center Strap. Set your posts under the loops in the Center Strap and tie them in place by passing 1/2″ strap through the drilled hole in the post and through the loop in the Center Strap. Check your support posts to make sure they are upright and straight underneath the Center Strap. Next, using a Strap Tensioning Tool, tighten your Center Strap at the metal buckle. Tighter is better of course, but be careful not to damage the boat or bend the metal buckle. Once tightened, tie your tail end of extra strap around the buckle, and cover the buckle with a piece of 2″ Preservation Tape to keep the sharp points of the buckle from damaging shrink wrap as it is pulled or shrunk over the buckle.
Ribbing/ Side Straps-
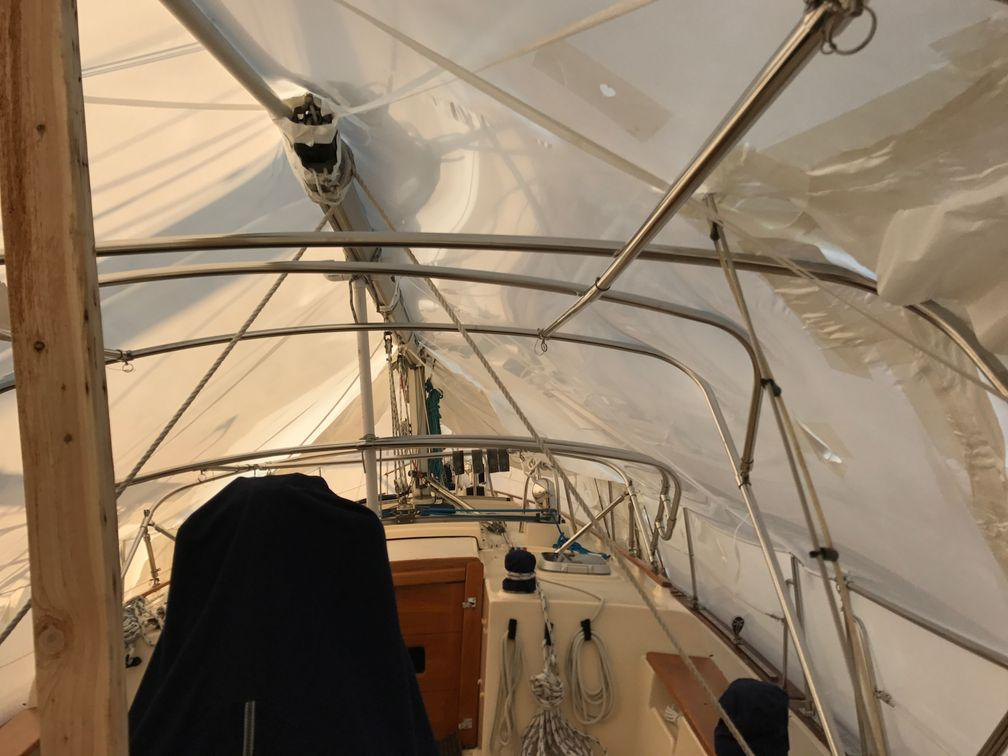
Now the Center Strap is secure and the support posts are in place under the Center Strap. Spine complete! Time for the Ribbing. Using 1/2″ wide strap, starting at the bow, feed the strap side-to-side through the forward-most loop in the Center Strap, above and past the bow rail, and tie to the stanchion. Return to your roll of strap, pull some slack, and tie a loop in your 1/2″ strap halfway between the Center Strap and the matching stanchion. Give yourself enough strap to wrap over the bow rail, down around the stanchion and back up over the bow rail to the loop you tied in the 1/2″ strap, add a foot extra, then cut the 1/2″ strap from the roll. Wrap your loose end of 1/2″ strap over the bow rail, down and around the stanchion, back above the bow rail and through the loop in the 1/2″ strap. Pull tight and securely tie. Repeat this for each loop in the Center Strap, working toward the stern. Once each loop has a rib going through it, the Ribbing is complete.
With the Center Strap and Ribbing complete, you’re ready to make your Drop Loops.
Droop Loops & Perimeter Strap-
Using 1/2″ wide strap, tie the strap around the bottom of a stanchion. Imagining how low you want the shrink wrap to cover the hull of the boat, tie a loop in the strap and cut the strap from the roll. Repeat this on each, or every other stanchion until you have a series of loops hanging at the same height around the hull of the boat. The Drop Loops are complete. Now that the Drop Loops are finished, the Perimeter Strap can be made. Using 3/4″ wide strap, feed the strap through every bottom loop of each Drop Loop. Once the 3/4″ wraps all the way around the boat, use a 3/4″ Self-Locking Metal Buckle to secure the strap to itself. Check to see that your Drop Loops are hanging straight down and keeping the Perimeter Strap where you like it, then tighten the Perimeter Strap at the metal buckler using the Strap Tensioning Tool. You’ll have to reach a hand behind the Perimeter Strap, so don’t crank it too tight. Tie the tail end of the strap to the metal buckle, and wrap the buckle in a piece of 2″ Preservation Tape. The structure is now complete!
Padding-
Now that the structure is in place, you have a better visual representation of where the shrink wrap will lay. Using 1/8″ x 6″ Foam Padding, and 2″ Preservation Tape, apply foam over any area of the boat which might poke through or get caught on the shrink wrap. Areas to consider are the handles and ends of antennae, horns, and points of windshields. Feel free to also tape some padding around sharp points of the anchor if your anchor will be inside the shrink wrap. Padding is done!
Installing the Shrink Wrap on the Boat-
- Once you have the shrink wrap support structure in place, all sharp objects padded, and the perimeter band attached (or if tape is going to be used in place of the perimeter band), the shrink wrap can be put on.
- The proper size shrink wrap is now put on a roller at the stern of the boat. Coming from the flat stern allows the shrink wrap to be pulled over the boat (this is much easier than coming from the bow). The shrink wrap is pulled over the boat, making sure that there is enough extra at the bow and stern to tuck around and under the perimeter band. This will help hold it in place in case the wind is blowing.
- After the shrink wrap has been pulled over, and tucked at the ends, the shrink wrap can be unfolded. There will be pleats of excess shrink wrap at the windshield corners, at the corners of the stern, and as the shrink wrap goes aft-ward from the bow. The pleats at the windshield must be folded to the rear of the boat, and tucked over and under the perimeter band, or taped in place if there is no perimeter band. This will assure that there is enough shrink wrap fore and aft, and side to side.
- Now the rest of the shrink wrap can be cut off 6″ below the perimeter band (or just taped onto the boat if there is no perimeter band). Once this is done, all of the remaining shrink wrap material can be tucked around and under the band, or taped around the hull.
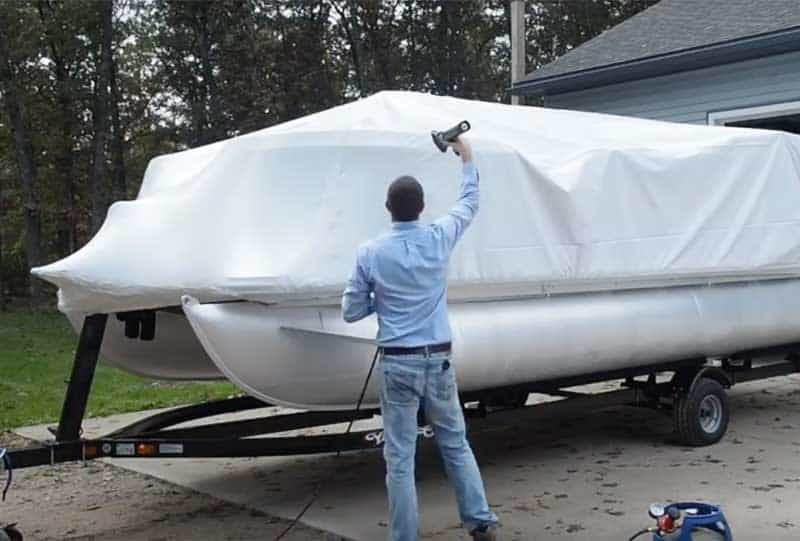
- After being tucked around and under the perimeter band, the Shrink wrap heat gun (heat tool) is used to apply heat directly above the band, which heat welds the outside of the shrink wrap to the piece tucked under the band. As you come to pleats or seams, these are heat welded at the same time.
- After the entire perimeter, pleats and seams have been welded (but before shrinking the upper sides and top of the shrink wrap cover), it is time to strap “belly bands” from the perimeter band under the boat to the perimeter band on the other side. These belly bands keep the shrink wrap cover and perimeter band from rising during the final stages of shrink wrapping. If these bands are not used, there is also a chance that snow or rain sitting on the cover could raise the perimeter band and allow the moisture to pool on the cover. This could cause tremendous amounts of damage to the boat.
Shrink wrapping your boat is a wonderful way to ensure it stays safe and dry during the winter months… but it can be expensive. You have to ask yourself “how much is the boat worth to you”. If you follow these steps and do it as a DIY you will have yourself a safely shrink wrapped boat that will be ready to be launched back in your lake come spring time.
Posted by Scott Freerksen “The Lake Guy”