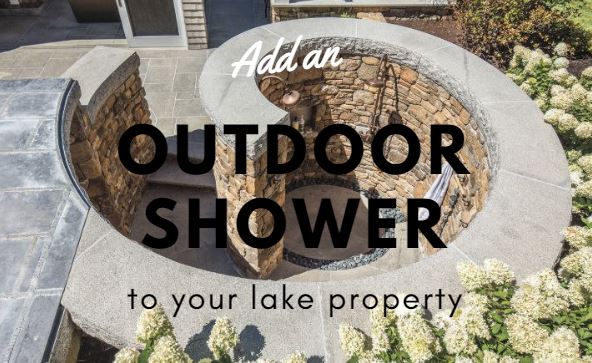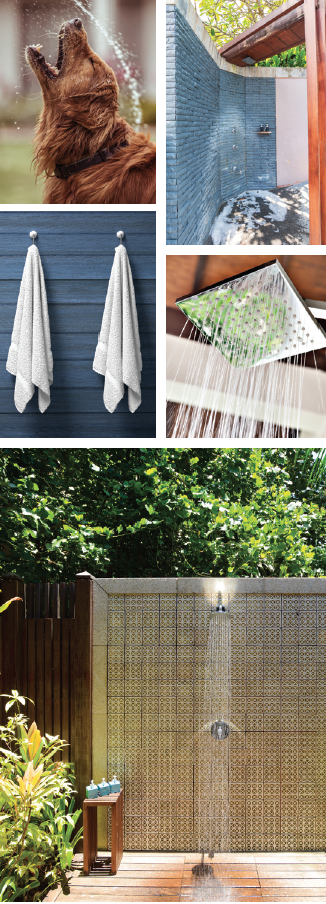
Outdoor showers not only satisfy yearnings for summer fun, but also are practical. They provide a spot for gardeners, athletes, kids and guests to clean up before coming into the lake house—helping keep dirt and soap scum inside to a minimum. They also offer an ideal spot to bathe pets without the mess.
Outdoor showers have become a popular home improvement project, so why not consider installing one at your lake home?

If the design is basic, outdoor showers often can be installed by a handy do-it-yourselfer. The first step is to locate the area that works best with your lake lifestyle. Look for a spot near your dock, part-way to the house or adjacent to an exterior door of your home that offers level ground and can easily accommodate plumbing. In the SML area, you must have a plumbing permit to add an outdoor shower, so you may need to enlist the help of a plumber or general contractor.
Of course, your shower must drain away from the house and any other outside buildings. You’ll also want to make sure soapy water doesn’t run off into the lake or nearby landscaping. Start with a deep layer of gravel to promote good drainage and choose a water-resistant material such as stone, concrete or specially treated wood to create a level, stable base. Another popular look is to use smooth rock as the base. Top it with large stepping stones or a floor mat made of a water-resistant wood to give the area a relaxing, spa-like vibe.
Placing smooth stone or stone pavers made specifically for wet areas around or in front of the shower area also enhances the look and helps with water absorption. Go a step further and create a walkway to the house to keep feet [relatively] clean.
Of course, privacy is critical when customizing your outdoor shower, so consider how you’ll surround the structure. You could go super fancy and build a form that mimics high-end interior showers, tiled in the latest looks. However, many showers are simpler in nature, built of bamboo or iron poles with curtains hung around them for privacy.
If you prefer the look of wood, good choices include cedar, mahogany and teak, which repel water and insects, as well as resist deterioration. Install posts and attach wood slats horizontally on three sides for a custom look.
Handles and showerheads come in a variety of finishes and colors, so consider choosing something beyond basic shiny chrome. Take a look at brushed nickel, pewter, brushed bronze, oil-rubbed bronze and hammered copper to add a custom look to your shower.
You may also want to consider placing a small bench or chair outside the shower area for sitting to remove shoes or clothing. If the area is covered, a metal or painted bookcase or table is also a nice addition on which to stack clean towels and other necessities.
Iron hooks can be attached to the wooden panels, perfect for hanging wet bathing suits and sweaty athletic gear. Hooks are a fun way to personalize your shower, too. Look for designs that complement your theme such as boats, flip flops or fish. Embellish even further with a soap dish that matches the decor. Add a back brush or loofah hung on a hook to scrub away garden dirt or muddy feet.
Proper maintenance is key for outdoor showers at Smith Mountain Lake. Pipes should be drained before the first freeze to prevent them bursting during the winter. Whatever your shower base, it will benefit from an occasional rinse of vinegar and water to keep it clean and fresh. The showerhead will need cleaning, as well, to remove minerals and insects. Fill a baggie with white vinegar and use a rubber band to affix it to the shower neck, making sure the showerhead is completely submerged. Allow it to soak overnight and remove for a sparkling clean result.
Outdoor showers are perfect for so many reasons, but primarily because they provide a practical and playful alternative to the bathing experience. Consider building one this summer at the lake. You will take pleasure in the process and thank yourself every time you turn on the shower.
Re-posted by Scott Freerksen “The Lake Guy”
View original article here.
